 Last fall, I made a custom iron pot rack for a client in St. Louis (that’s another day’s entry). He told me about a special, hand-made, copper stockpot he wanted replicated, but said he wasn’t ready to go ahead with it at the time. Several months after installing the pot rack, I got a call from his fiancée…he had also told her about the pot, and she commissioned me to make it for him as a wedding gift.
Their wedding was yesterday. They exchanged gifts in the morning, and he called me around noon to tell me how pleased he was with this thoughtful and beautiful gift. He had told me back in the fall about how he had wanted this stock pot for years, but had yet to find someone who could make it for him. He had seen the original at the home of a friend in California. A copper artisan in Tasmania had made that one, and, as the story goes, had also made copper pots for the Queen of England. A talented man, no doubt! But he had retired, and despite my client’s attempts to draw him back to his work, just felt he did not have one more piece in him. My client enjoys cooking, but more than that, he values beautiful and unique work. He had been thrilled with the pot rack, and I felt confident that he would love this piece as well.
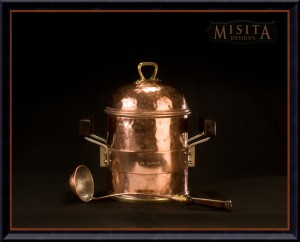
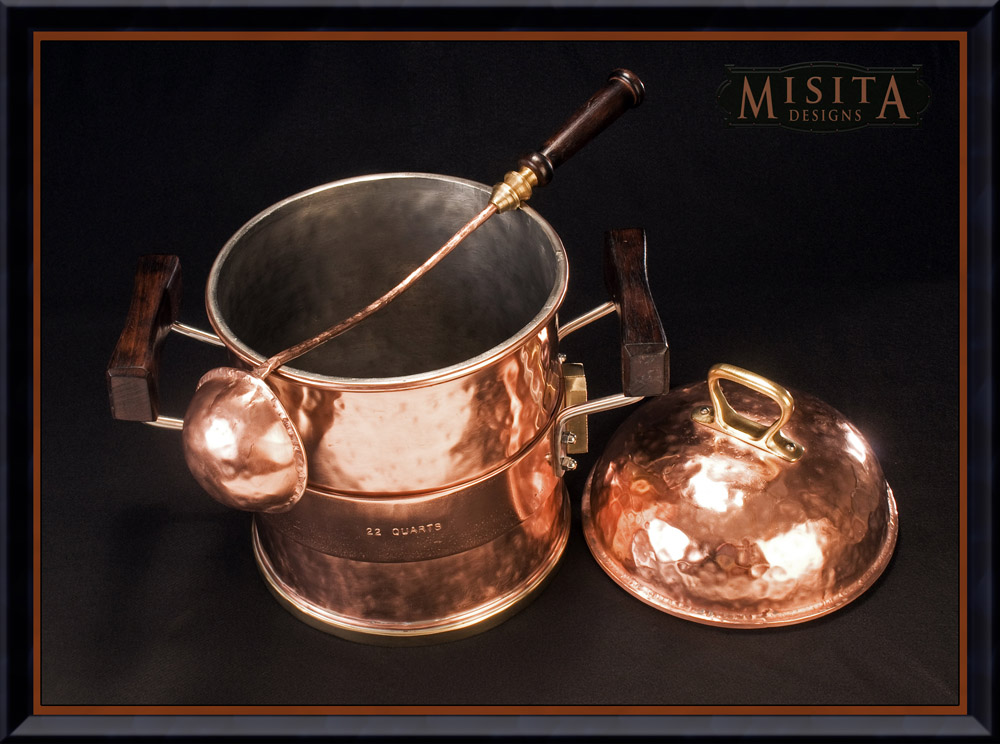
The design of my client’s pot rack had been original. He gave me some guidelines and specifications, and I took it from there. But the copper stock pot was different. He had provided me with photographs when we first made contact last fall, and he wanted just what was pictured. What I ended up making was very true to his ideal, but I did make a couple of modifications that I felt improved the aesthetics and functioning of the pot. I increased the dome of the lid, and widened the distance between the handles and the pot (this second modification was done with my client in mind…he’s a very tall man, with large hands). As one can see in the pictures here, the style is very traditional. The materials I used are brass, copper, stainless steel, tin, and wood. It is 17″ tall, including the lid. The pot is 12″ in diameter, and weighs 37 pounds (several more than my three-year-old son!) The bottom of the pot is 1/4″ thick copper and the outside is .042″ thick, 36 oz. copper.
The process I used to make this copper pot included welding, brazing (welding with brass), hammering, metal spinning, and tinning. First, I cut out a circle for the bottom. Then I rolled a piece of copper for the outside of the pot. The roller is a hand-driven, mechanical tool. Definitely worked up a sweat! Next I TIG welded the sides to the bottom. Copper necessitates TIG, because of the nature of the material. Then I made a band of copper for the lip and welded it on. Then I took a break.
Back to work…cut pieces of stainless steel for the handles of the pot. I then shaped, ground and milled these to achieve the look I wanted. They still needed some tweaking (per my wife), so I worked until she was satisfied. Then I bent and rolled some copper and milled some more brass barstock to make the bracket that would hold the handles. The design of this part of the pot is very unique. The handles are part of an assembly that clamps on to the pot. The user can adjust the height of the handles by loosening them and changing their height. One benefit of this design is that it leaves the pot with more structural integrity, because the handles are not riveted to it directly. I am not sure if form follows function or vice-versa in the original design, but I can say that the bracket and handle assembly gives the whole piece a great dose of character and interest. Next I fashioned the handles. I’m honestly not sure what sort of wood I used…it was something I’d had in stock for a quite a while. It came with a bundle of mahogany, so I’m fairly sure it’s an exotic, tropical wood. It was very dense and difficult to saw, and smelled very, very earthy. I oiled it to bring out its richness and depth. Beautiful.
Almost done! I tinned the inside of the stock pot to make it food-safe. I did this by placing powdered tin in the pot, then heating it from the bottom to turn the tin to liquid, and swirling it around inside to coat evenly. (An aside…early in our marriage, my wife decided we should have a rule about spending…if either of us wanted to spend $50 or more, we should consult the other. One day I came home from the hardware store with an outdoor fish fryer. She was obviously upset that I appeared to have broken “our” rule, so I was pleased to tell her that I had paid only $49.99 for it! She didn’t think that was funny. Anyway…this is the very same outdoor stove I now use to tin pots and other pieces…now what can she say about that?!?)
Once the copper pot was tinned, all that was left to do was polish, polish, polish (and to take a picture of our little girl sitting in it…she’s on the tiny side). I am hoping that my client and his new bride do not keep such a high shine on it. My hope is that they will use this pot every day to cook their food, nourish their children, and commemorate the promises they made to each other on the day when one gave the other a fine, fine gift.
You can learn more about Joel’s Custom Copper and Stainless Cookware Designs here.

I’ve been looking for a large stock pot…can you make another like this, and if so, how much would it cost?
Thanks,
Larissa